In the last lesson we glossed over a lot of concepts in CSS. So this lesson we are going to demystify CSS. In the last lesson we discussed what CSS was and how it interacts with the HTML. We also saw how it is used to style our page to make it look cool!
The main points that you need to know (see the last lesson if any of this does not sound familiar!) are:
- You must include a <link> tag in the HTML so that you can link your HTML document to the style sheet if you choose to use an external style sheet.
- CSS lives in .CSS files (aka style sheets)
- CSS changes the size, color, position, appearance of HTML tags.
- CSS selects the HTML tags by using classes, ids and tag names
- An HTML tag may have 1 id and / or many classes
CSS Selectors
Lets review our menu CSS to really understand how CSS is affecting how the HTML tags are rendered by the browser. Below is the CSS that takes our ugly div and list and turns them into a beautiful menu bar and menu.
#menuBar
{
height: 84px;
width: 100%;
background: url(images/menu-bg.png) repeat-x;
}
#menu
{
list-style-type: none;
text-align: center;
display: inline;
}
#menu li
{
display: inline;
padding: .2em 1em;
background-color: #036;
margin: 15px;
}
#menu li a{
text-decoration: none;
color: #fff;
}
#menu li:hover
{
color: #fff;
background-color: #369;
}
A CSS selector is simply a mechanism to define which HTML tags will be affected by the styles. Lets look at the #menuBar CSS. This select says for every tag that has an id=”menuBar” set the height, width and background.
#menuBar
{
height: 84px;
width: 100%;
background: url(images/menu-bg.png) repeat-x;
}
In CSS the # symbol means we are looking at HTML tags that have id=”SomeValue”. Typically, we are working with a single tag on the page, but this is not a rule. And HTML document may have multiple tags with the same id. But this is considered bad practice and strongly discouraged. This is where the spandex rule kicks in – “Just because you can doesn’t mean you should.”
We can also select HTML tags by class. For example, look at the following HTML.
<div class=”article”> I am 16px font </div>
<div class=”article red”> I am 16px font and red </div>
<div class=”article ads”> I am 16px font </div>
Suppose we wanted all articles to have a 16 point font. Then we could use the . (dot) selector to apply the font-size to all tags that have an “article” in the class attribute.
.article {
font-size: 16px;
}
Now suppose we want all tags that have a red class to have a red font color.
.red{
color: red;
}
We can reuse and combine CSS styles to create complex and reusable styles. This is important. Don’t miss this. You can COMBINE styles to create more complex and REUSABLE styles. Take the time to really digest what a powerful feature this is. You do not (nor should not) have an individual style for every element on a page. So if you notice that you are constantly repeating a particular decorator (font-size, color, background, width, height) that you should probably make it an individual style and apply the style to the classes that you need it.
Why do this you may ask? Sounds like a lot of work? Just a bunch of extra thinking? Trust me. It is way better to change the color, width, font, or whatever in one place than to have to hunt the change down in dozens of places and hope that you got them all. No fun. Beside other web developers will ridicule your code and talk about your code behind your back.
So we have discussed selecting tags by id and by class. But you can also select them by name. Let suppose I want all <h3> tags to be red.
h3{
color: red;
}
Yep. That simple.
So far you have seen that CSS is extremely useful – but wait there is more! You can combine these selectors to identify specific tags. Lets suppose I want all <a> tags in the header div to be red.
<div id=”header”>
<a href=”#”>I am red</a>
<a href=”#”>Me too</a>
</div>
<div id=”mainContent”>
<a href=”#” class=”big”>I am NOT red</a>
<a href=”#” class=”little”>So not red!</a>
</div>
#header a{
color: red;
}
Or if I wanted all tags with a “big” class in the mainContent div to be 24px.
#mainContent .big{
font-size: 24px;
}
Ok so what if I wanted all of the odd links to be red and all the even links to be blue? Can CSS do that? Huh?
#header a:nth-child(odd){
color: red;
}
#header a:nth-child(even){
color: blue;
}
These types of selectors are called pseudo-classes and there are many types. Some of the more common pseudo-classes are
:hover – the style is activated when the mouse is over the tag.
:focus – the style is activated when the tag has focus
CSS has another super power called inheritance. Child tags will inherit the decorators of their parent tags. For example, lets say I wanted all text on my web page to default to 16px. I would set the font-size of the <body> tag and then all my children tags inherit that style. Children tags are any tags that live inside of another tag. You may have noticed that HTML tags can contain other HTML tags. If a tag contains another tag then that tag then the top level tag is said to be the parent and all of the inner tags are the children. This a very powerful feature.
Children can override their parents. So if a parent has a font-size: 16px but the child element needs the font size to be 24px then the child’s style will win.
CSS is very powerful and has many features. I could not possible discuss all of the decorators or pseudo-classes in this blog post. But in my next post I will show you how to use the Google Chrome developer tools to steal other CSS super hero’s powers!


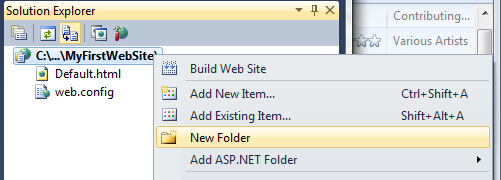 Find a few pics and copy them into the new images folder.
 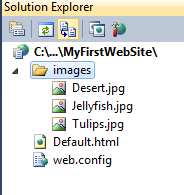 Inside the images <div> tag we are going to add a few images. Then save and runt the project (F5 or Debug –> Start Debugging).
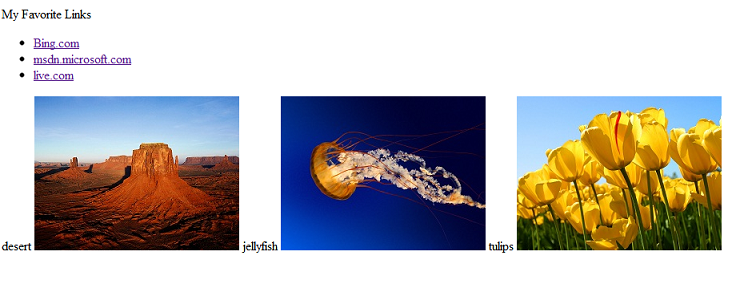 Excellent. We just created our first web page. Now it is time to make it look cool with CSS.


